Russet Potato:
- Place your russet potato in a small pot of boiling water, making sure there's enough water to fully submerge the potato. Boil until completely soft, about 20-40 minutes depending on its size. You can cut it into chunks, no smaller than 1.5” (4 cm), if you want to speed up the cooking process, but we tend to avoid this because it can sometimes waterlog the potato. Remove and press through a potato ricer on the finest setting. Finally, force the riced potato through a chinois or fine mesh strainer set over a bowl so that it is extremely smooth. You can also use leftover baked or boiled potatoes if you have them on hand instead.
Dough:
- Combine the milk and water in a small container, heat in the microwave just until 90-95°F (32-35°C), no warmer or cooler. Whisk in your yeast and sugar and let sit until dissolved and foamy, about 2 minutes.
- SEE NOTES AT BOTTOM IF YOU DO NOT HAVE A STAND MIXER. In the bowl of a stand mixer, whisk together bread flour, salt, amylase, and turmeric. Pop onto your stand mixer with the dough hook. While mixing on low speed, add your yeast mixture, oil, whole egg, egg yolk, and finally the cooked and cooled mashed potatoes. Mix for 5 minutes, stopping and scraping down the sides of the bowl as needed until you get a smooth and elastic dough. Press in your softened butter and allow to incorporate. Mix until extremely smooth, another 2-3 minutes.
- If needed, remove the bowl from the stand mixer and use your hands. Form a cup shape with your hand, scoop under the edge of the dough, then slap it against the side of the bowl. If this process is still not working, turn the dough out onto a work surface and utilize the slap and fold method. Pick up the sides of dough, turn it 90°, slap it down onto the counter, then fold it over itself. Rinse and repeat until it is smooth and elastic. To see how I did this process, click here (5:05 in this video). Depending on the strength of your flour, this process can take anywhere from 3-10 minutes. Be aware this dough is quite sticky but don’t worry that is normal.
- Grease your hands then transfer to a greased bowl, cover with plastic wrap (or a damp towel), and let rise at room temperature for 1 ½-2 hours, or until doubled. Punch down then use a flexible bench scraper to remove your dough to a work surface. Divide into 10-12 pieces that weigh about 105g each, using cooking spray as needed to prevent sticking. You can also eyeball this, but I prefer to use a scale so they look similar in size.
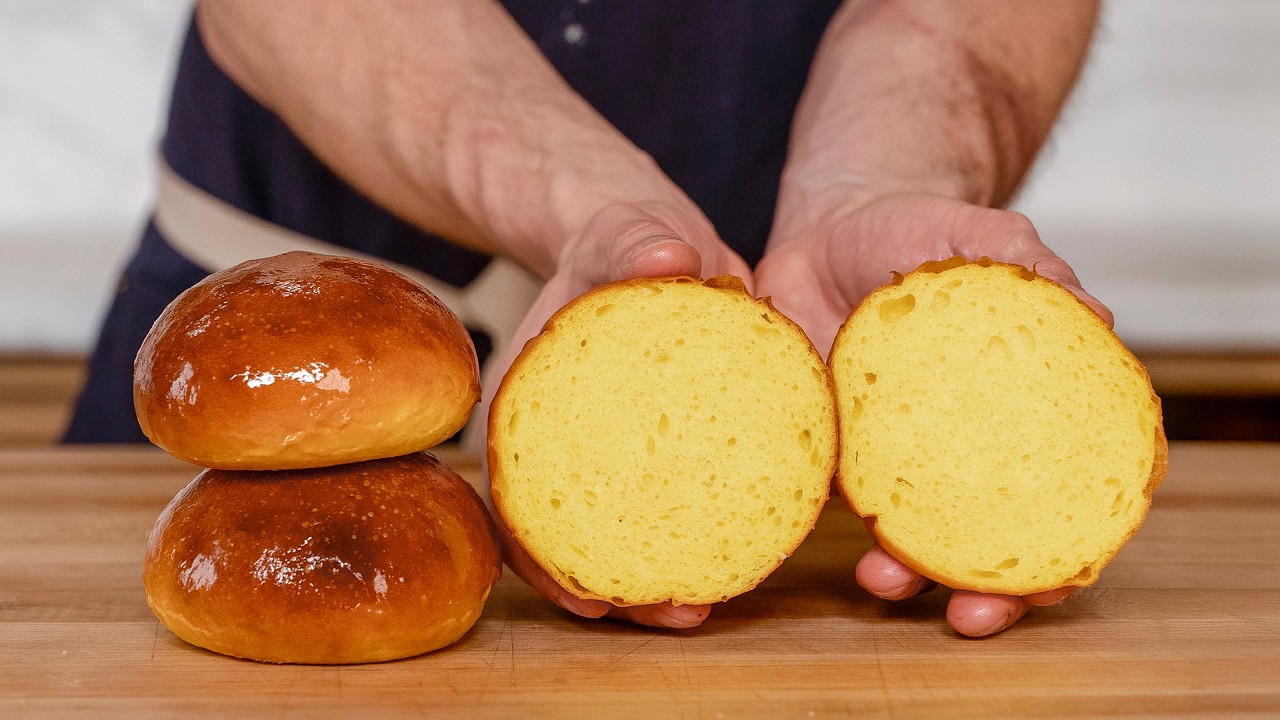
- Preheat your oven to 375°F (191°C), convection if you have it. Shape each dough into a nice taught ball. Gently flatten each piece to make sure that there is no gas remaining. Fold and stretch the edges of the dough into the center then pinch together to form a loose seam. Flip so that the seam side is down. Keeping constant contact to the work surface with your pinkies, cup each side of the dough. Move around in small circles to create tension that pulls the edges of the dough under itself. To see how I did this process, click here (7:00 in this video). Place the ball on lightly greased parchment lined baking sheets evenly spaced apart, no more than 6 to a baking sheet. Grease the tops with cooking spray and flatten gently with the bottom of a flat glass. Cover with greased plastic wrap and rise for 30-60 minutes or until the dough is nearly 1.5 times in size and springs back almost all the way back when lightly pressed.
- Brush each bun with a light layer of whole milk to fully coat each bun, then bake for 15-17 minutes, or until lightly browned. Remove and immediately brush with melted butter. Allow to cool completely on wire racks. Serve and enjoy! Once cooled, store in an airtight container at room temperature for up to 3-4 days.
*Note If mixing dough by hand, replace the butter with an equal amount of neutral oil - it is difficult to incorporate the butter into this dough manually! If you choose to go this route you will need to add the neutral oil at the same time that it’s already added in the dough, during the beginning of the mix. You don’t want to add it after you’ve made your dough.

.svg)
.svg)


.jpg)


{# Comments}